

After adding a supplier, you will be getting live rates from API via Maya Travels. The rates that are visible to you in your admin login will be your price, and you will now add a markup on that price. Markup can vary from customer to customer as per your choice. You can create 5 different markup groups and can assign your customers to any particular group.
You can add default markup on live flights, airline-specific markup and flight deals markup from three different sections.
The first and crucial step of adding markup is creating the markup group. To do this, you will need to do the following:
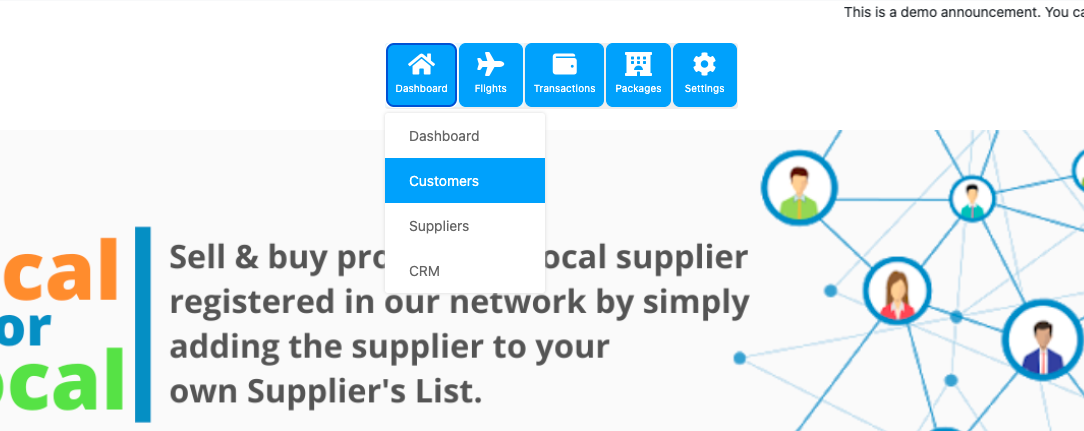
- Go to the dashboard on your website, then customers.
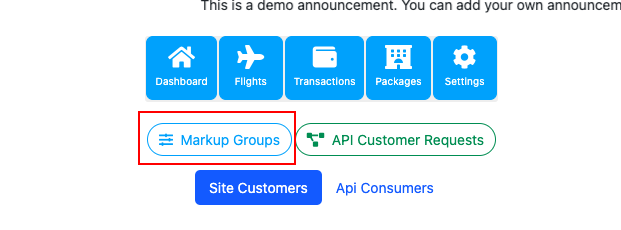
- Click on markup groups as shown in the below image.
- Name a group then save it. You can create a maximum of 5 groups similarly.
Moving further, where to add markup?
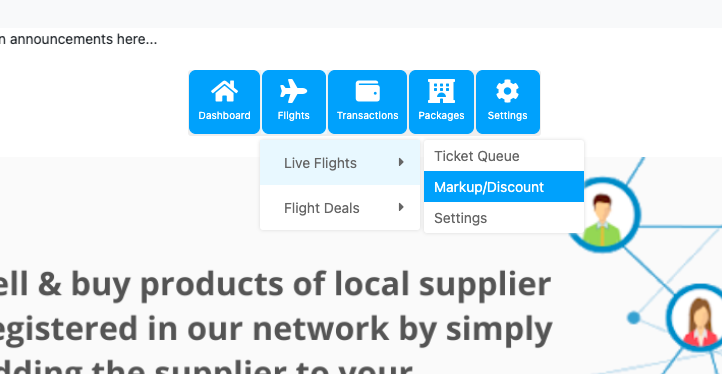
- First of all, do admin login on your site then go to the menu and dashboard.
- Then flights > live flights > Markup/Discount.
The first section for markup is the default markup. This markup is for live flights. The steps to add it are:
- Open the markup page, and then you will land on this page.
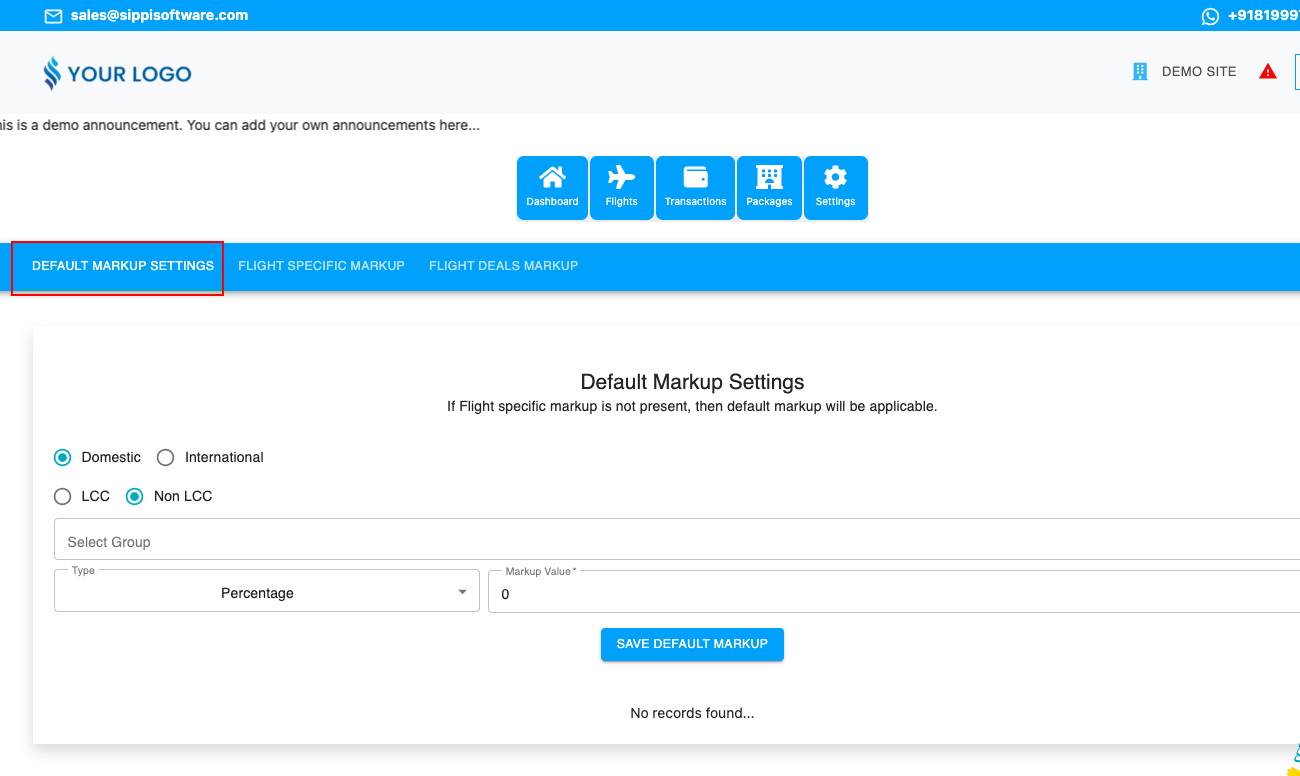
- Now you need to select whether you want to add domestic markup or international markup. Along with this also select airline type LCC or Non-LCC, the group on which you want to add markup and value.
- Click on save default markup.
Similarly, you can make combinations like this, For one group there will be 4 sets of markups:
1. DOMESTIC LCC
2. DOMESTIC NON-LCC
3. INTERNATIONAL LCC
4. INTERNATIONAL NON-LCC.
The second section is for airline-specific markup. Follow below given steps to add this:
- Go to the flight-specific markup section.
- Fill in the blanks as per your requirements, such as airline name, markup value and markup group. Then click on save.

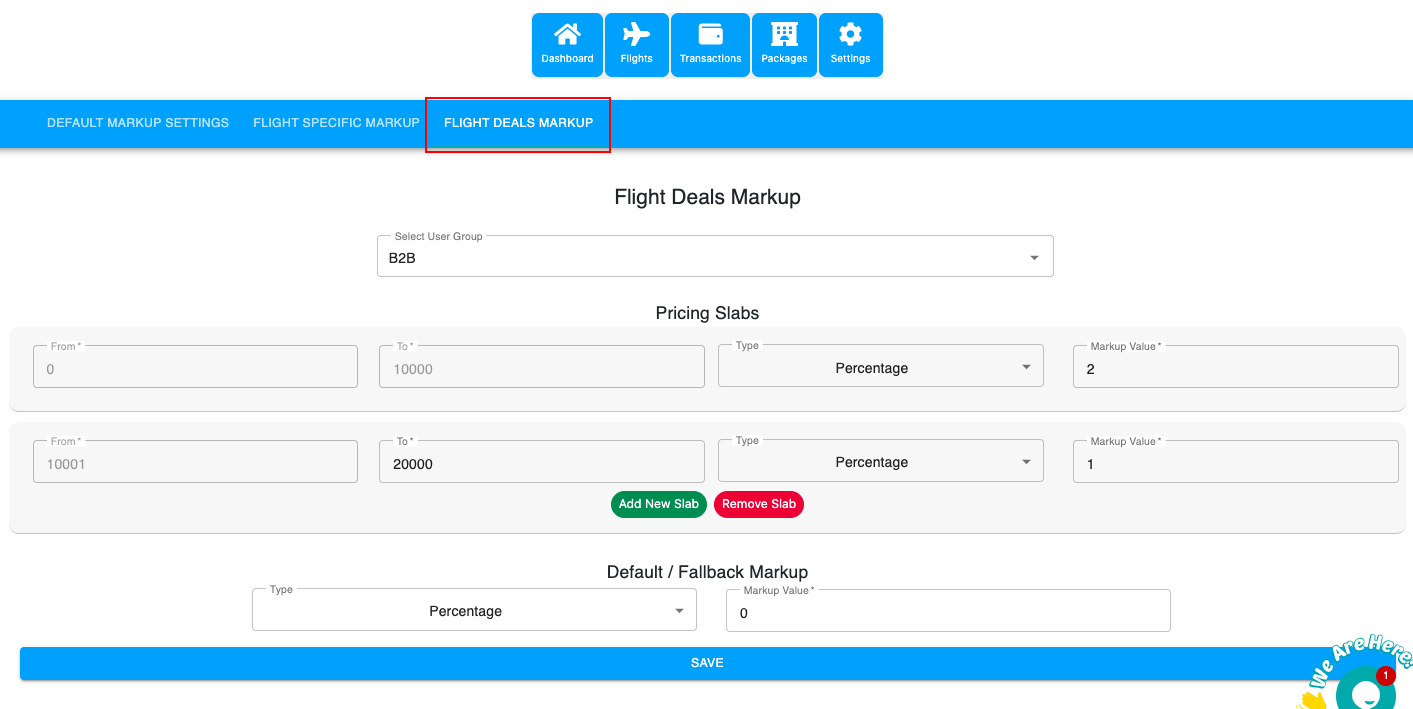
The third section is for flight deals markup. This markup is added on non-refundable and non-changeable fares. You can do this by:
- Go to the flight deals markup section.
- Select the user group and then select the price range/slab where you want to add a markup and value. For instance, ₹0-10000, the markup value is ₹100.
- You can add more slabs depending on your choice and can add default markup for flight deals that lie outside the slab. Lastly, click on save.
Note: Markups will not be visible in admin login prices. Plus, you need to create one default markup group( without login and the unassigned customer will see prices with the markup of the default group).